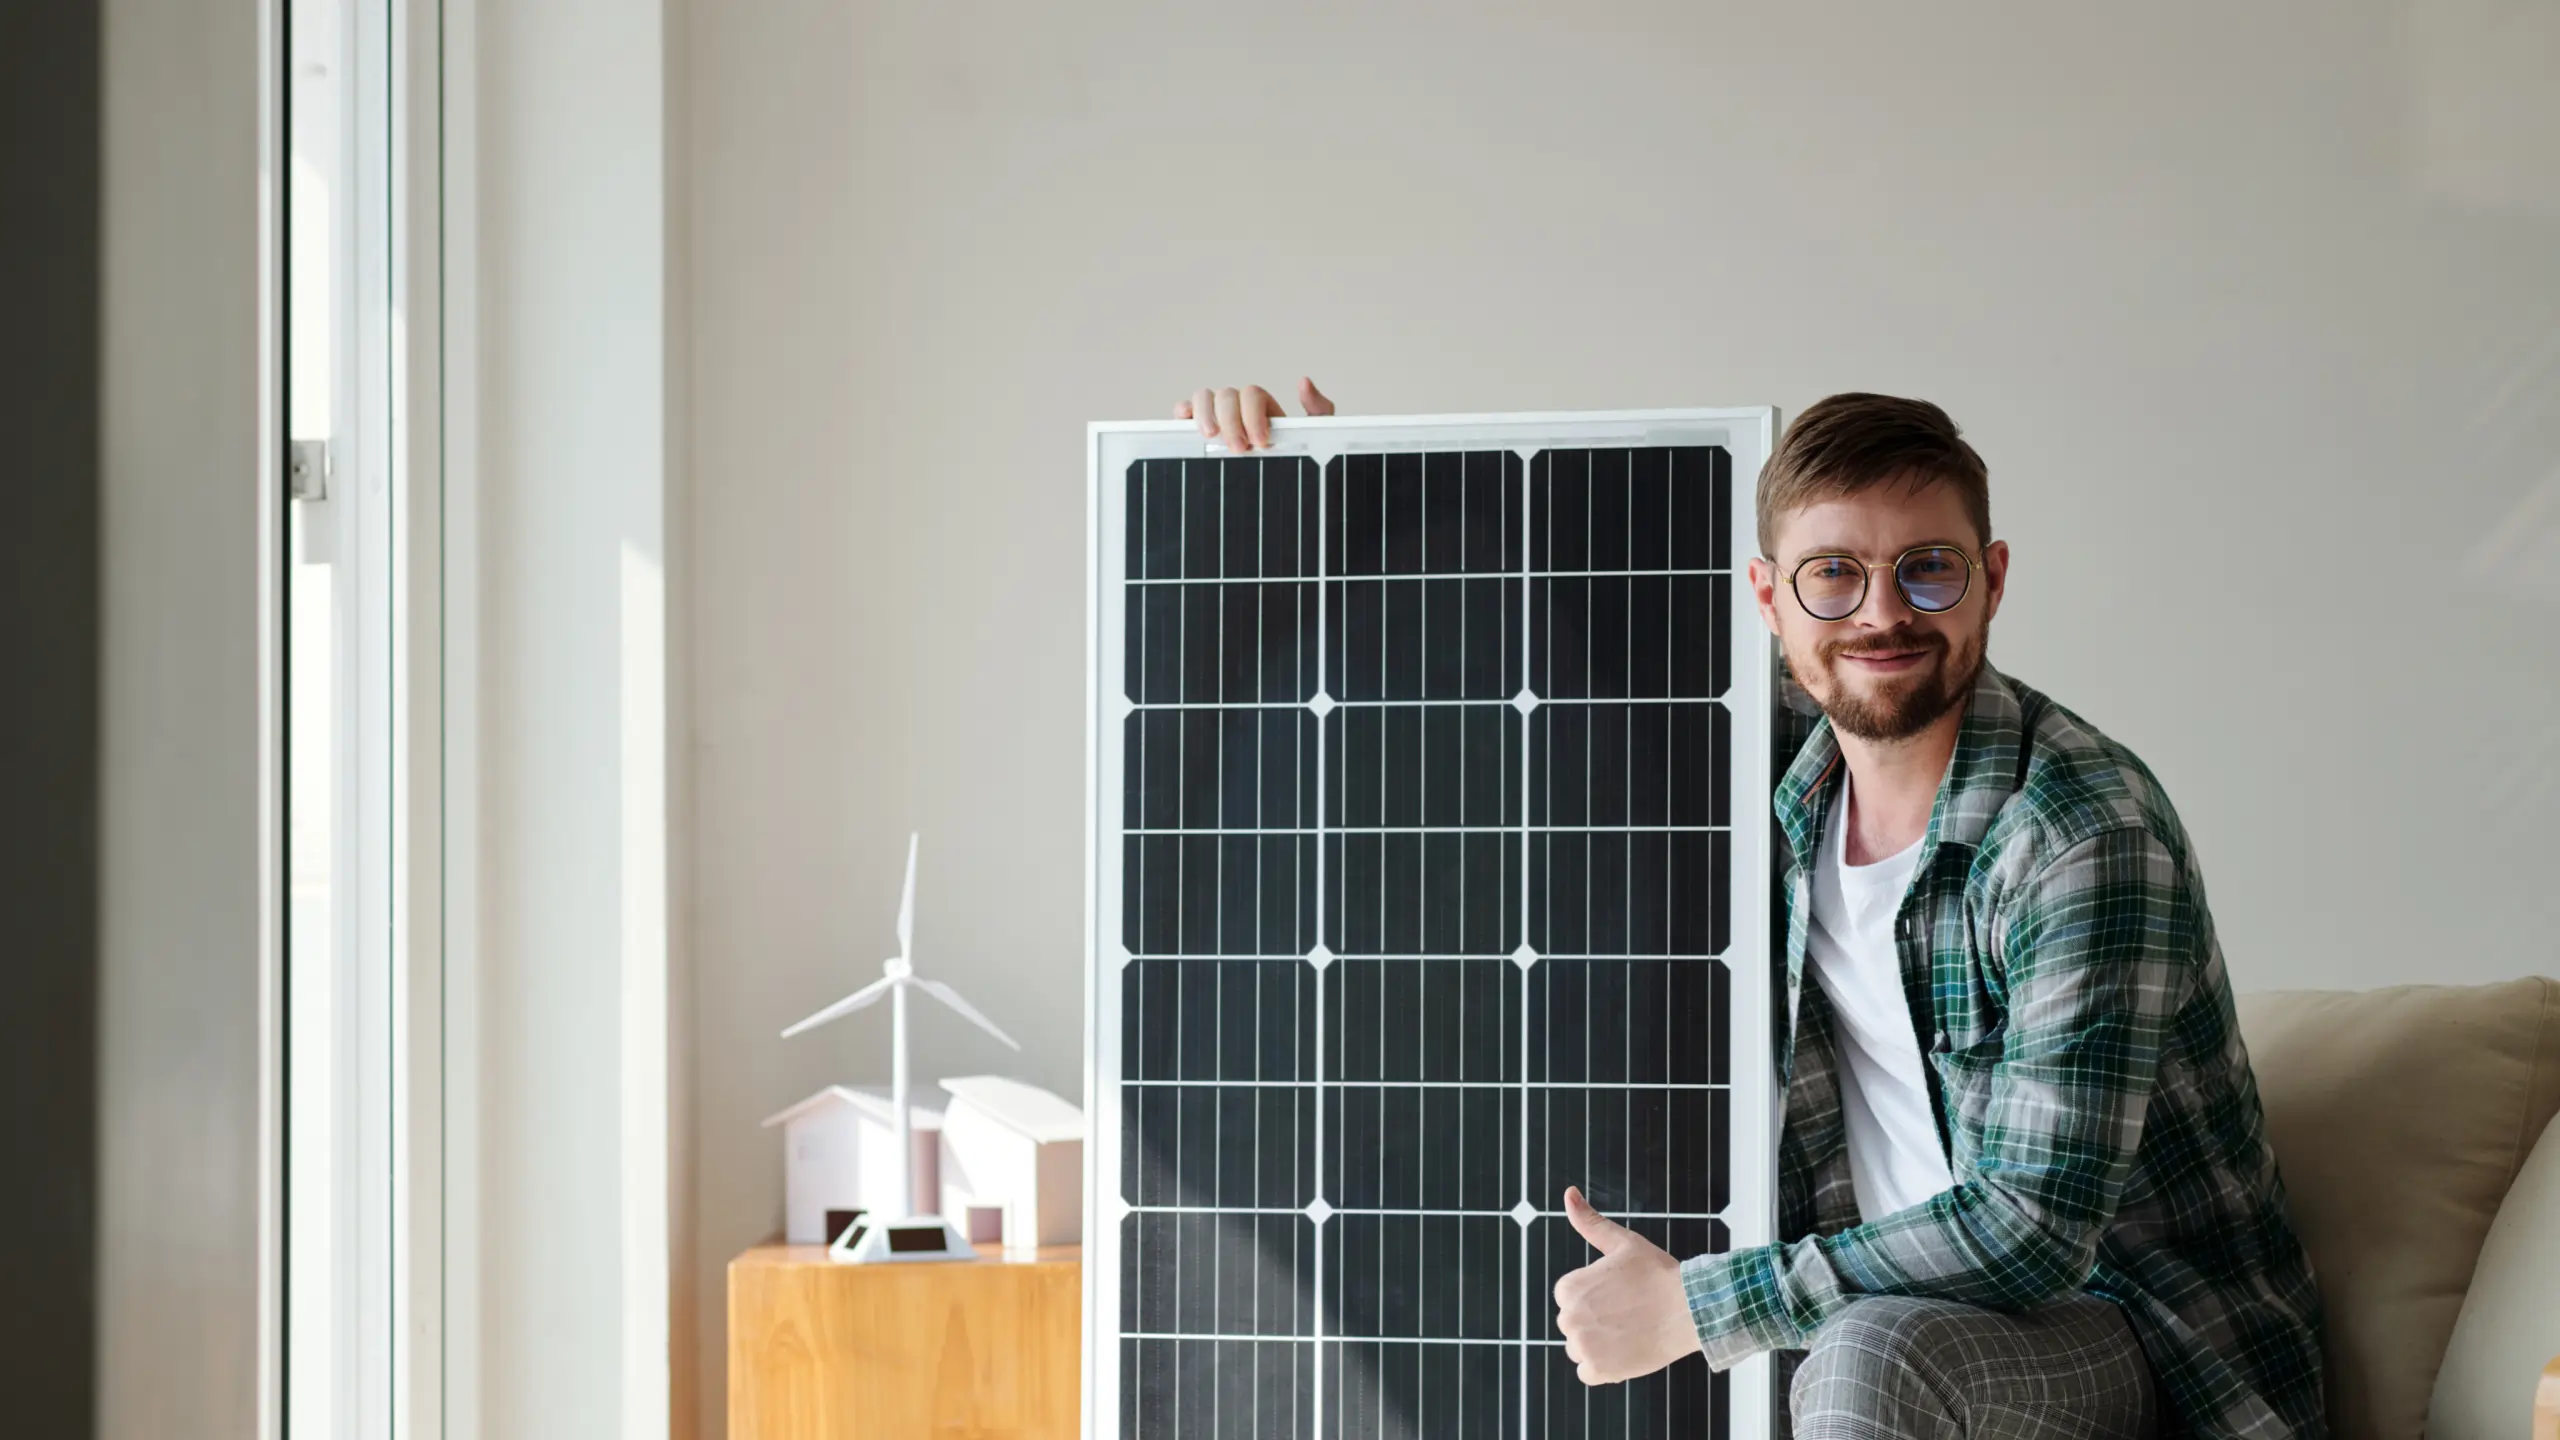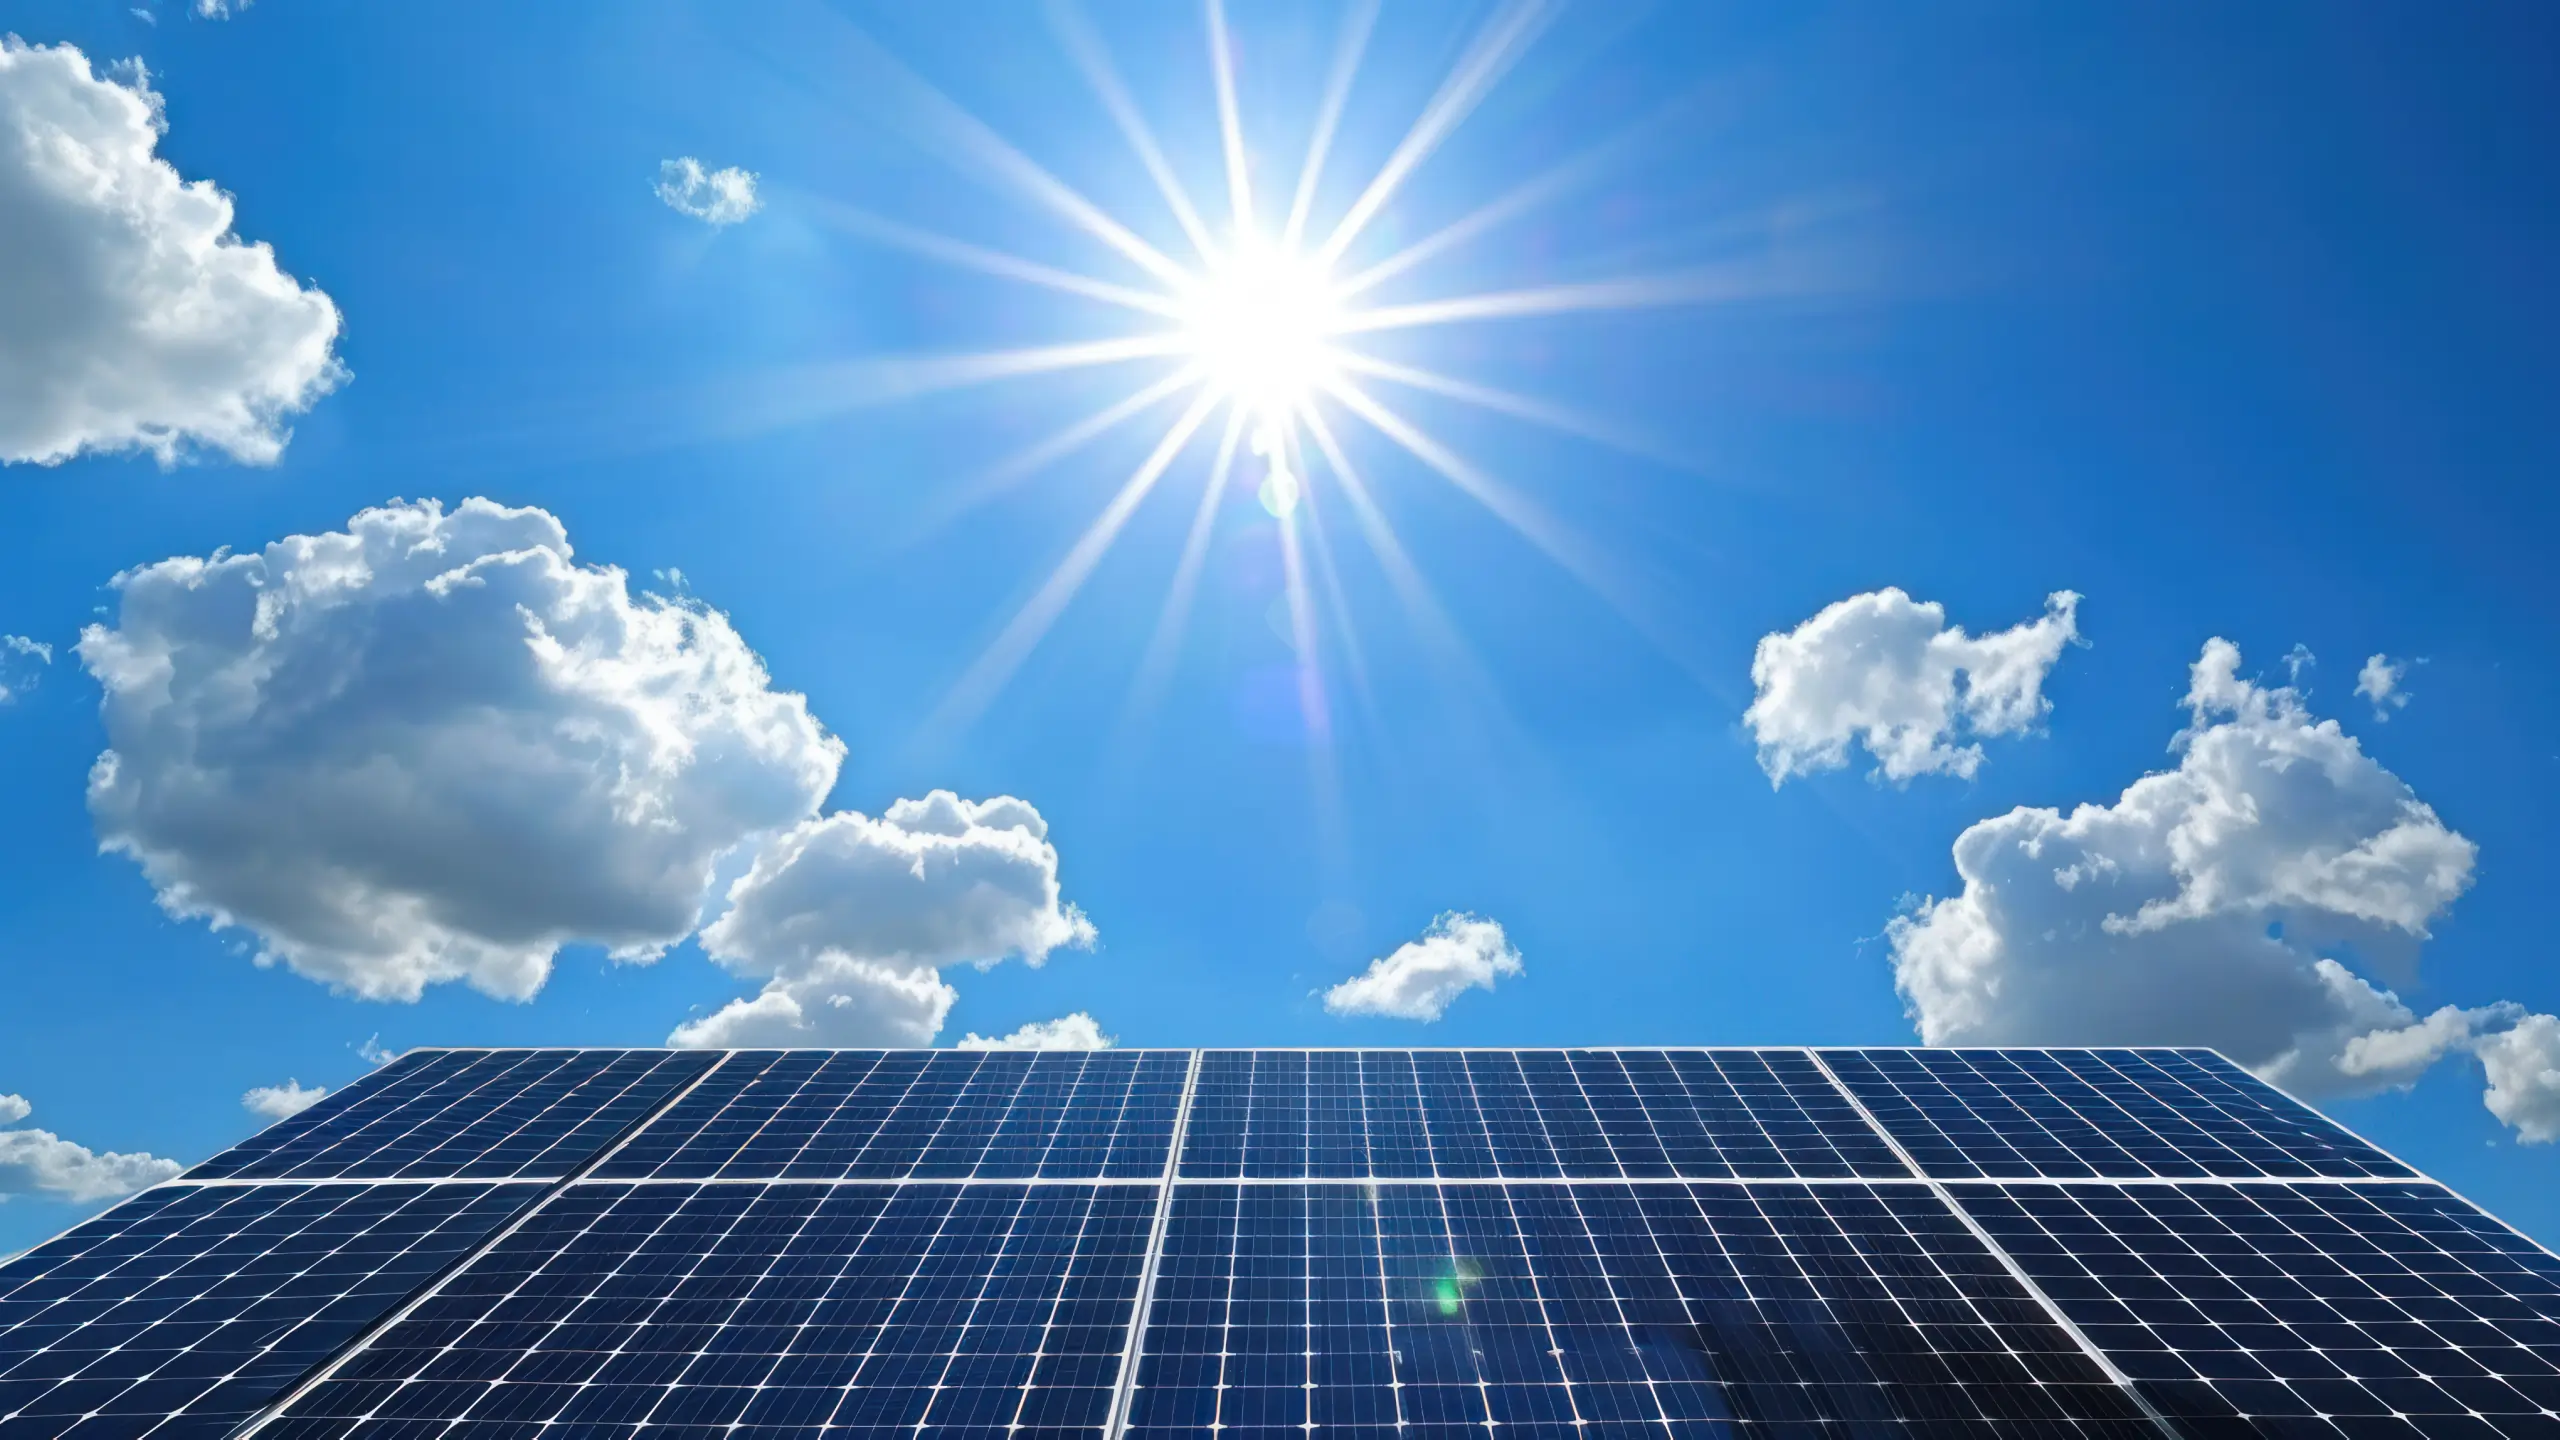
Switching to solar energy is an exciting decision for many Las Vegas homeowners. The abundant sunshine in the region makes it an ideal location for harnessing solar power. However, understanding the installation process can help you prepare and ensure everything goes smoothly. Here’s a detailed overview of what to expect from the initial consultation to the final connection to the grid.
Step 1: Initial Consultation
The solar panel installation process begins with an initial consultation. This is where you meet with a solar energy provider to discuss your energy needs, budget, and goals.
Key Elements:
- Site Assessment: A solar consultant will visit your home to assess the roof space, orientation, and shading.
- Energy Analysis: Review your past electricity bills to determine your average energy consumption.
- Discussion: Talk about your expectations, potential savings, and any questions you have about the solar installation process.
Step 2: System Design
After the initial consultation, the solar provider will design a customized solar panel system for your home.
Key Elements:
- System Size: Based on your energy needs, the provider will determine the appropriate system size.
- Panel Layout: The layout of the solar panels on your roof will be designed to maximize sun exposure and efficiency.
- Inverter Selection: Choose the right inverter (string, micro, or hybrid) that converts solar energy into usable electricity for your home.
Step 3: Permitting and Approvals
Before installation can begin, necessary permits and approvals must be obtained. Your solar provider will handle this process.
Key Elements:
- Building Permits: Required by local authorities to ensure the installation meets safety and building codes.
- Utility Approval: Approval from your utility company to connect the solar system to the grid.
- Homeowner Association (HOA) Approval: If applicable, approval from your HOA.
Step 4: Equipment Procurement
Once permits are secured, the solar provider will order the necessary equipment for your system.
Key Elements:
- Solar Panels: High-quality panels selected based on your system design.
- Inverters: Chosen during the design phase.
- Mounting Hardware: Rails, brackets, and other hardware needed for installation.
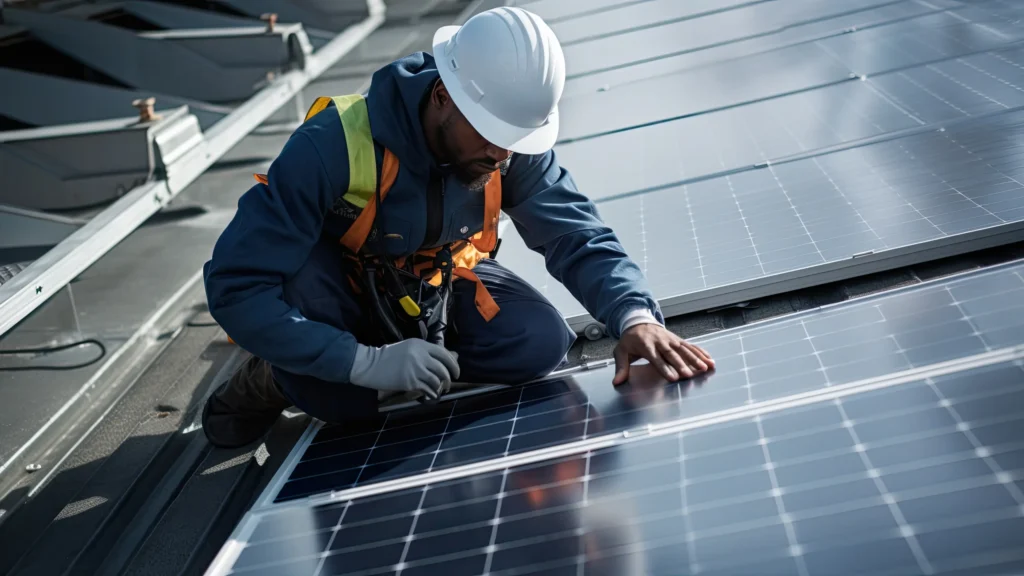
Step 5: Installation
The actual installation of your solar panel system typically takes a few days, depending on the size and complexity of the system.
Key Elements:
- Roof Preparation: Ensuring the roof is ready and any necessary repairs or reinforcements are made.
- Mounting: Installing the mounting hardware securely to the roof.
- Panel Placement: Carefully placing and securing the solar panels to the mounting hardware.
- Electrical Wiring: Connecting the panels to the inverter and then to your home’s electrical system.
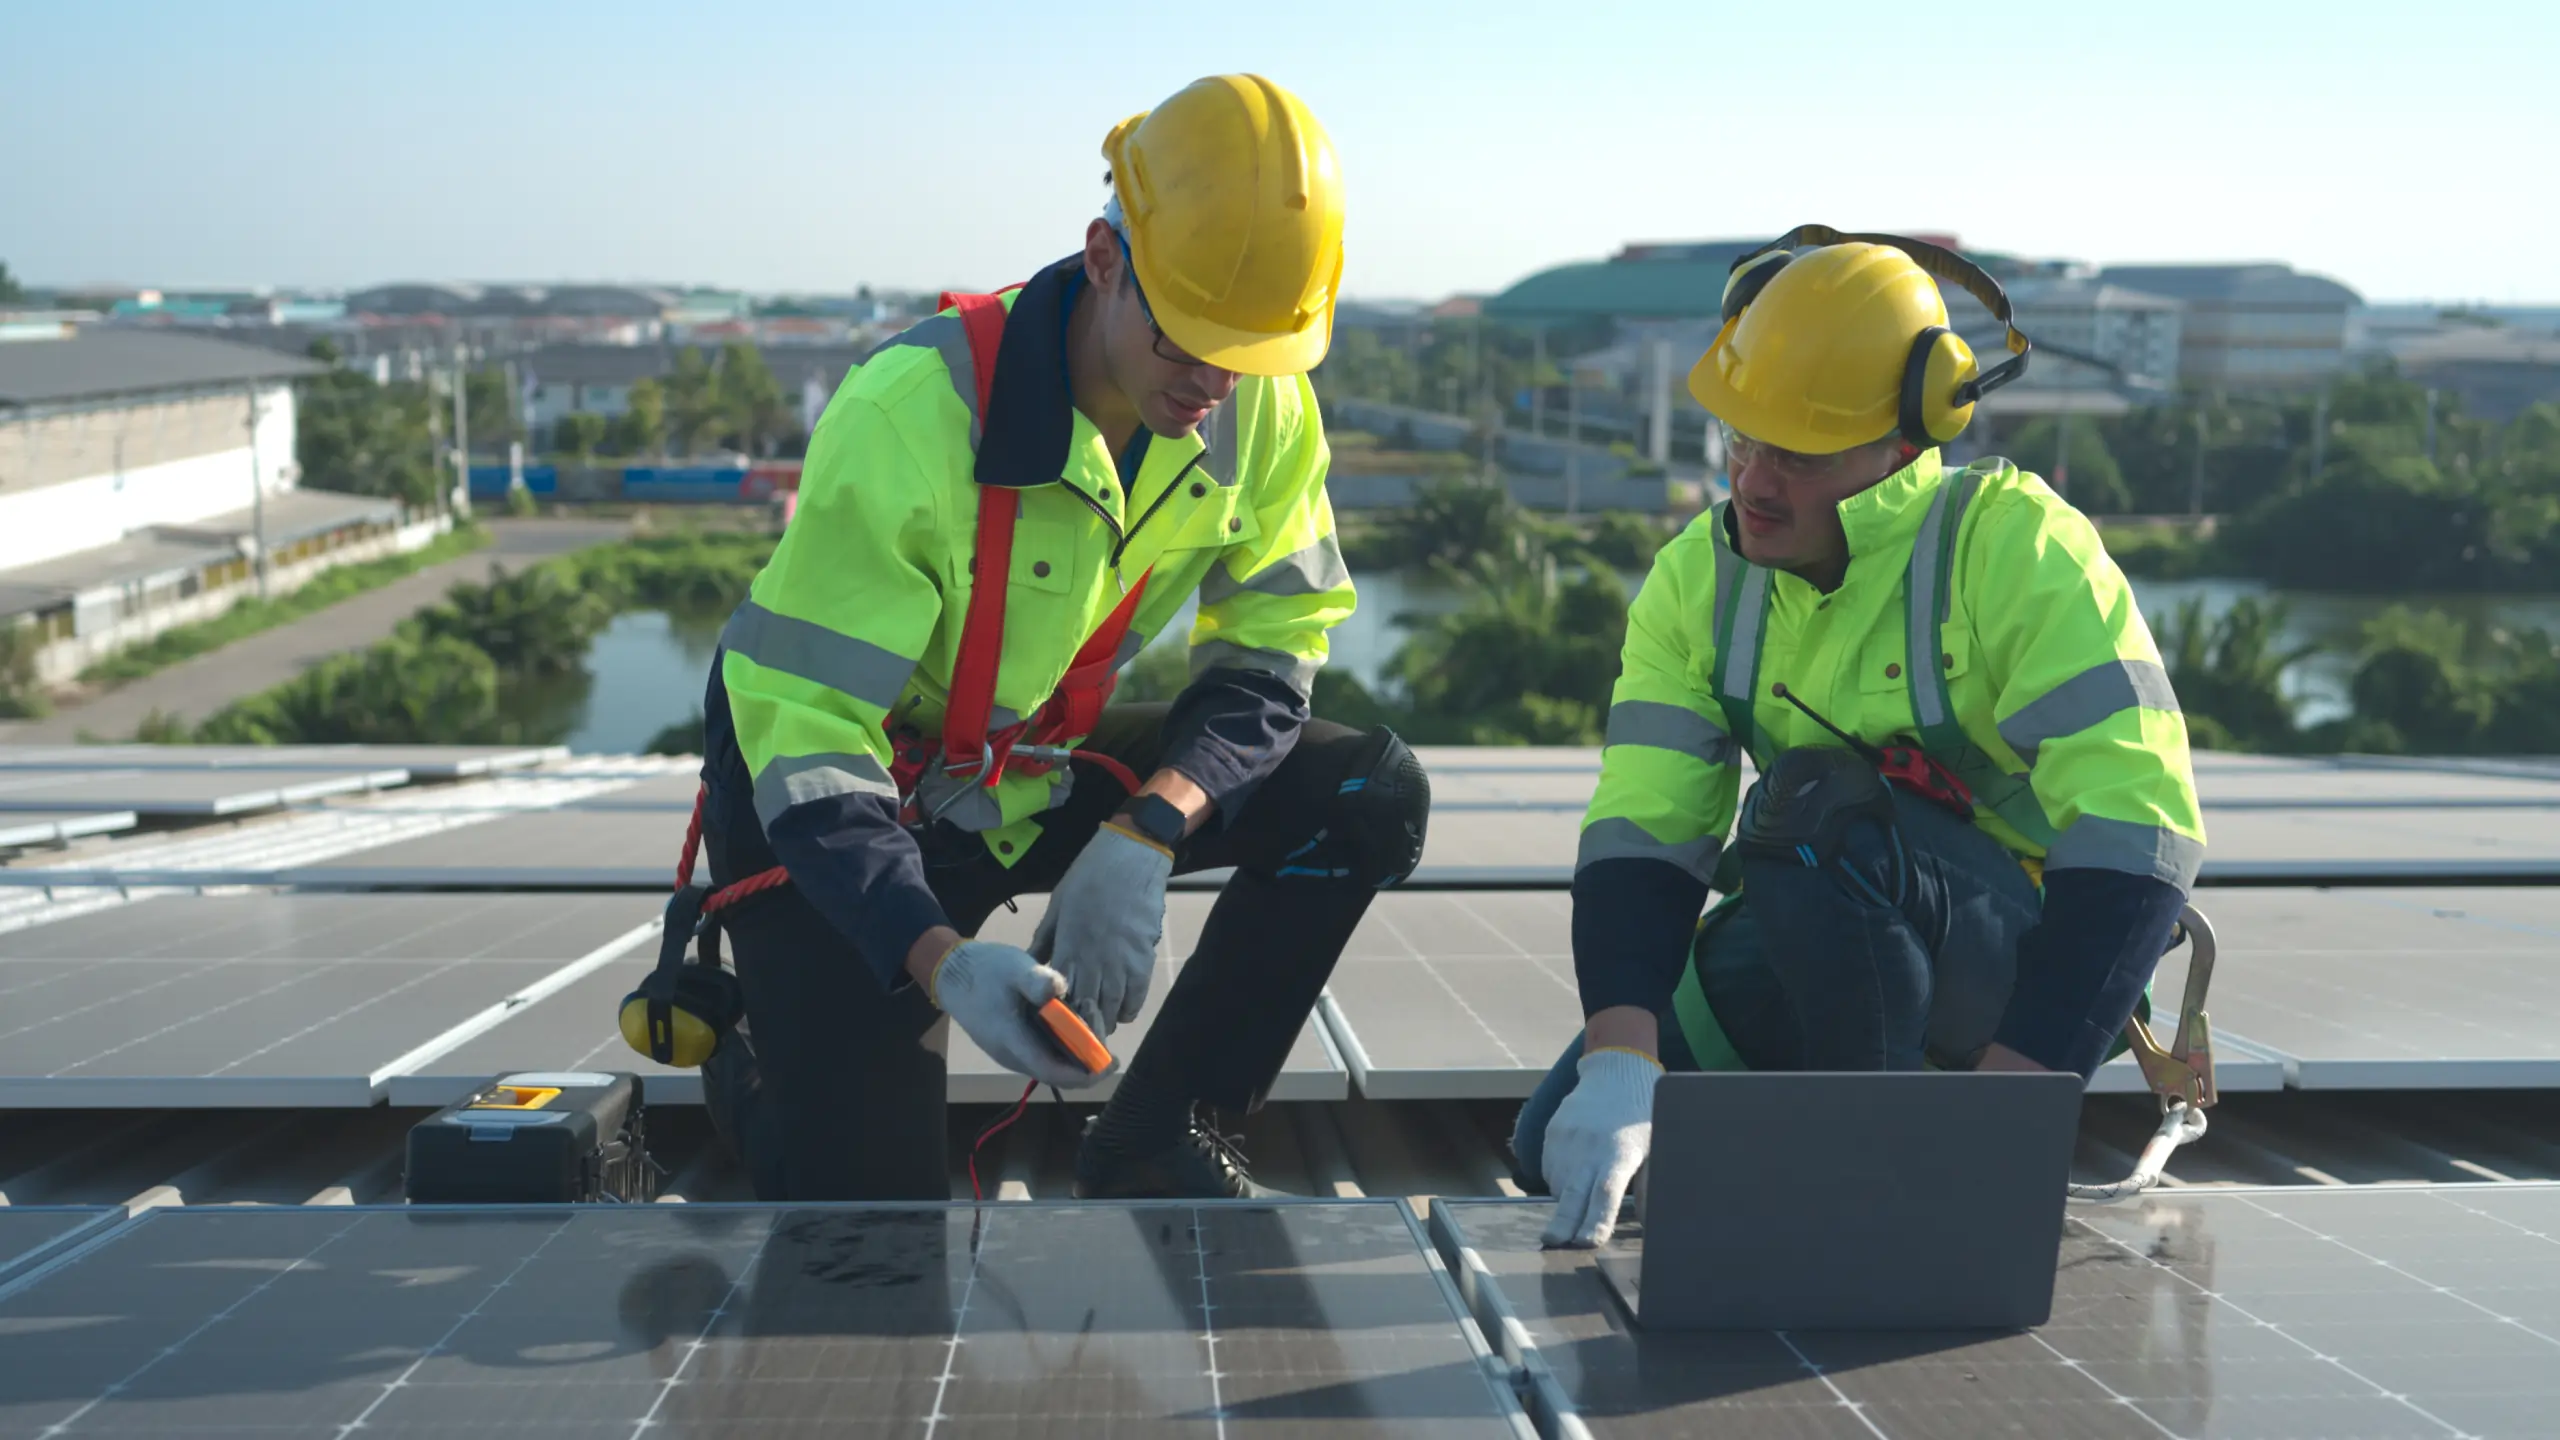
Step 6: Inspection and Interconnection
After installation, the system must be inspected and connected to the grid.
Key Elements:
- Local Inspection: A local government inspector will check the system to ensure it complies with building codes and safety standards.
- Utility Inspection: The utility company will inspect and approve the system for grid connection.
- Meter Installation: A bi-directional meter will be installed to measure the electricity produced by your solar system and the electricity consumed from the grid.
Step 7: Activation and Monitoring
Once all inspections are passed, your solar panel system is ready to be activated.
Key Elements:
- System Activation: Your solar provider will activate the system and ensure it is working correctly.
- Monitoring Setup: Set up a monitoring system to track the performance and energy production of your solar panels.
- Customer Education: Learn how to monitor your system and perform basic maintenance to keep it running efficiently.
Conclusion
The solar panel installation process for your Las Vegas home involves several steps, from the initial consultation to the final connection to the grid. Each step is crucial to ensure a smooth and successful transition to solar energy. By understanding what to expect, you can be well-prepared and confident in your decision to embrace renewable energy. Solar power not only benefits the environment but also offers significant savings on your energy bills, making it a wise investment for your future.

FAQs
How long does the entire solar panel installation process take?
The entire process, from the initial consultation to system activation, typically takes about 1-3 months. This timeline can vary depending on permitting and approval times, as well as the availability of equipment.
Can I install solar panels on any type of roof?
Solar panels can be installed on most types of roofs, including asphalt shingles, metal, and tile. However, the condition and orientation of the roof, as well as any shading, will affect the installation and efficiency of the system.
Will solar panels work during cloudy days or at night?
Solar panels generate electricity from sunlight, so their efficiency is reduced on cloudy days and they do not produce power at night. However, your home will still be connected to the grid, ensuring a continuous power supply. Additionally, battery storage systems can store excess energy for use during these times.
What kind of maintenance do solar panels require?
Solar panels require minimal maintenance. Regular cleaning to remove dust and debris and annual inspections to ensure all components are functioning properly are typically sufficient. Your solar provider will give you specific maintenance recommendations based on your system.